
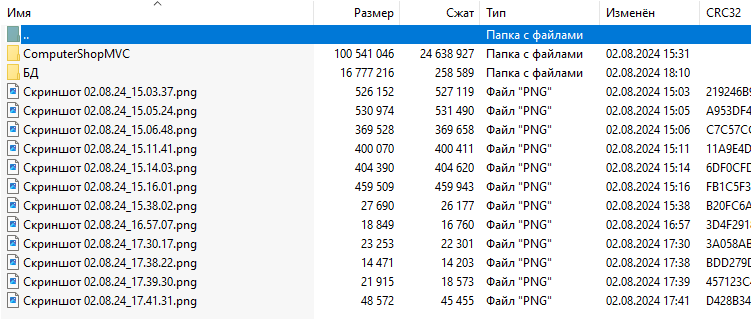
Скриншот архива с проектом
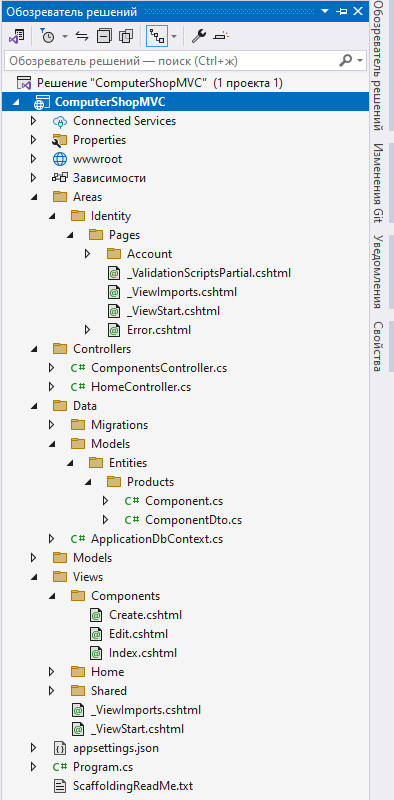
Структура проекта
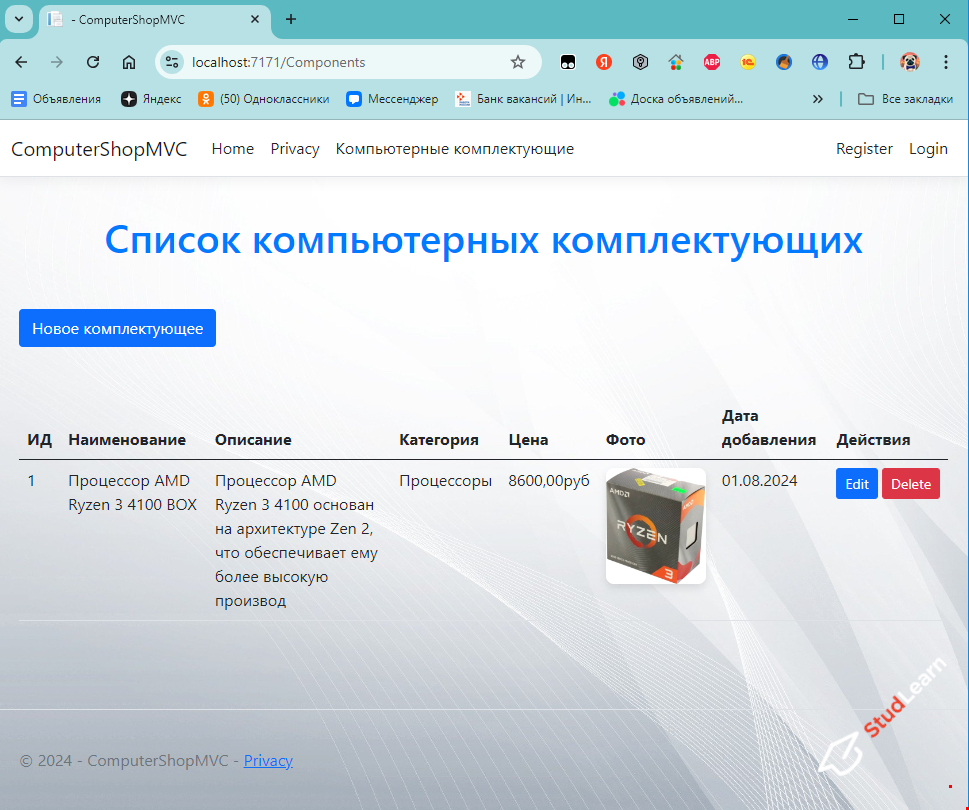
Задание
Основная цель - разработать приложение на C# ASP.NET Core MVC для учета товаров компьютерного магазина - каталог с товарами и ценами. В качестве технологии - использовать ASP>NET Core MVC или же Blazor, база данных SQL Server или любая другая на ваш выбор. Приложение должно обладать базовым функционалом по управлению товарами и позволять пользователям регистрироваться в системе.
Функционал программы
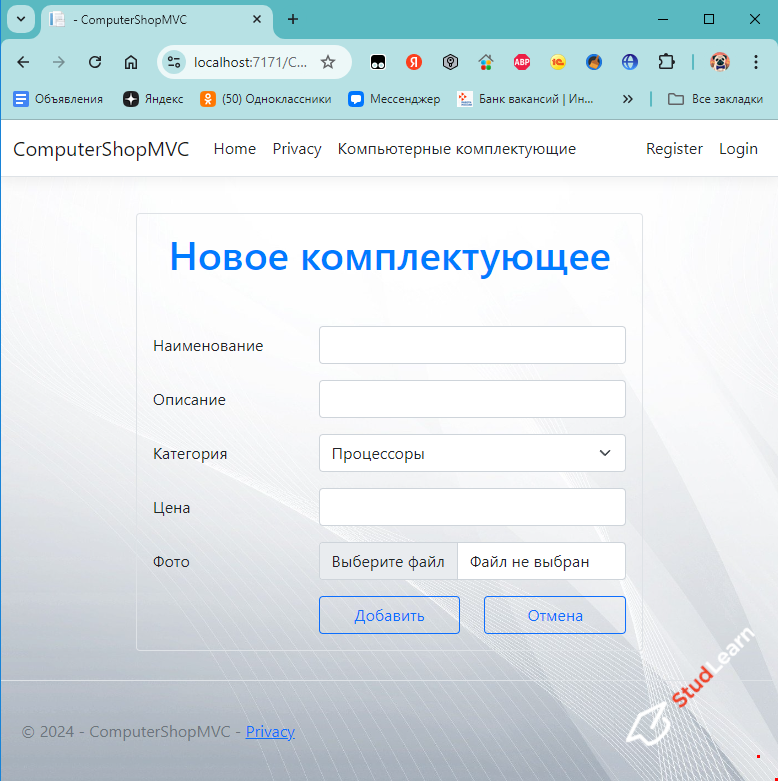
- добавление товаров
- удаление товаров
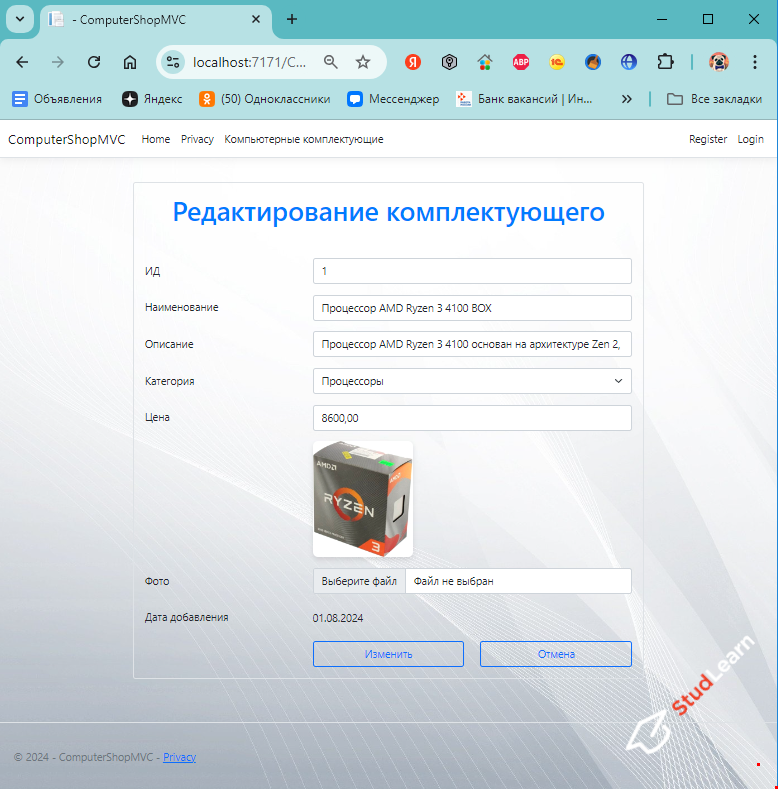
- редактирование товаров
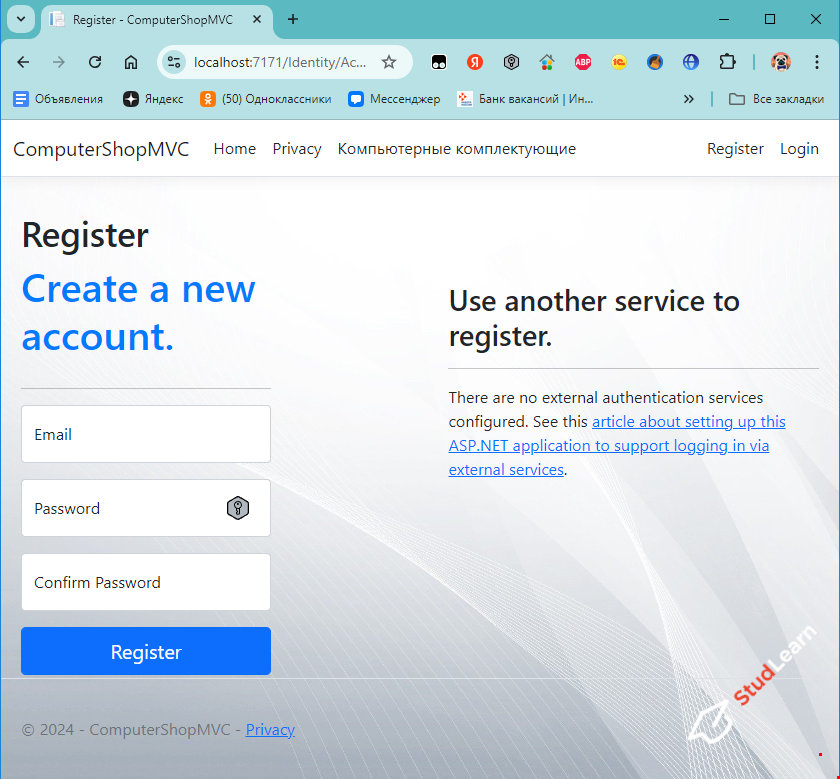
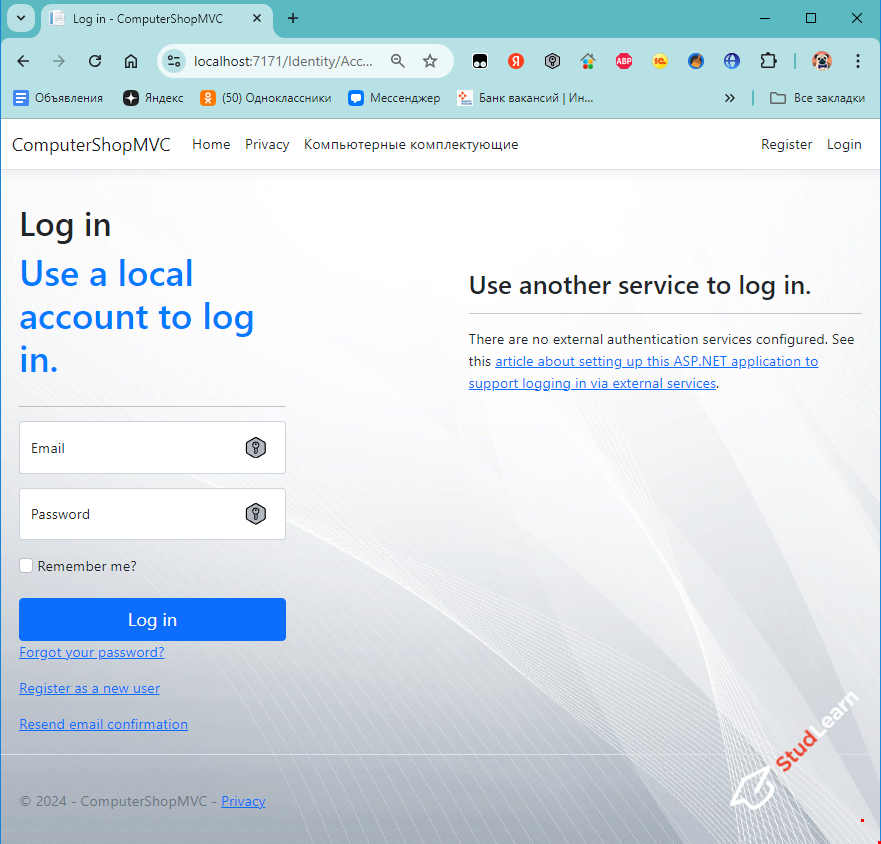
- регистрация и авторизация пользователей
- выгрузка в Excel с помощью Power Query
Фрагмент программного кода
using Microsoft.AspNetCore.Mvc;
using ComputerShopMVC.Data.Models.Entities.Products;
using ComputerShopMVC.Data;

namespace ComputerShopMVC.Controllers
{
    public class ComponentsController : Controller
    {
        private readonly ApplicationDbContext context;
        private readonly IWebHostEnvironment environment;

        public ComponentsController(ApplicationDbContext context, IWebHostEnvironment environment)
        {
            this.context = context;
            this.environment = environment;
        }

        public IActionResult Index()
        {
            var items = context.Components.OrderByDescending(x => x.Id).ToList();
            return View(items);
        }

        public IActionResult Create()
        {
            return View();
        }

        [HttpPost]
        public IActionResult Create(ComponentDto componentDto)
        {
            if (componentDto.ImageFile == null)
            {
                ModelState.AddModelError("ImageFile", "The image file is required");
            }

            if (!ModelState.IsValid)
            {
                return View(componentDto);
            }

            // save the image file
            string newFileName = DateTime.Now.ToString("yyyyMMddHHmmssfff");
            newFileName += Path.GetExtension(componentDto.ImageFile!.FileName);

            string imageFullPath = environment.WebRootPath + "/images/" + newFileName;
            using (var stream = System.IO.File.Create(imageFullPath))
            {
                componentDto.ImageFile.CopyTo(stream);
            }

            // save the new component in the database
            Component component = new Component()
            {
                Name = componentDto.Name,
                Description = componentDto.Description,
                Category = componentDto.Category,
                Price = componentDto.Price,
                ImageFileName = newFileName,
                CreatedAt = DateTime.Now
            };

            context.Components.Add(component);
            context.SaveChanges();

            return RedirectToAction("Index", "Components");
        }

        public IActionResult Edit(int id)
        {
            var component = context.Components.Find(id);

            if (component == null)
            {
                return RedirectToAction("Index", "Components");
            }

            // create componentDto from component
            var componentDto = new ComponentDto()
            {
                Name = component.Name,
                Description = component.Description,
                Category = component.Category,
                Price = component.Price,
            };

            ViewData["ComponentId"] = component.Id;
            ViewData["ImageFileName"] = component.ImageFileName;
            ViewData["CreatedAt"] = component.CreatedAt.ToString("dd/MM/yyyy");

            return View(componentDto);
        }

        [HttpPost]
        public IActionResult Edit(int id, ComponentDto componentDto)
        {
            var component = context.Components.Find(id);

            if (component == null)
            {

                return RedirectToAction("Index", "Components");
            }

            if (!ModelState.IsValid)
            {
                ViewData["ComponentId"] = component.Id;
                ViewData["ImageFileName"] = component.ImageFileName;
                ViewData["CreatedAt"] = component.CreatedAt.ToString("dd/MM/yyyy");

                return View(componentDto);
            }

            // update the image file if we have a new image file
            string newFileName = component.ImageFileName;
            if (componentDto.ImageFile != null)
            {
                newFileName = DateTime.Now.ToString("yyyyMMddHHmmssfff");
                newFileName += Path.GetExtension(componentDto.ImageFile!.FileName);

                string imageFullPath = environment.WebRootPath + "/images/" + newFileName;
                using (var stream = System.IO.File.Create(imageFullPath))
                {
                    componentDto.ImageFile.CopyTo(stream);
                }

                // delete the old image
                string oldImageFullPath = environment.WebRootPath + "/images/" + component.ImageFileName;
                System.IO.File.Delete(oldImageFullPath);
            }

            // update the component in the database
            component.Name = componentDto.Name;
            component.Description = componentDto.Description;
            component.Category = componentDto.Category;
            component.Price = componentDto.Price;
            component.ImageFileName = newFileName;


            context.SaveChanges();

            return RedirectToAction("Index", "Components");
        }

        public IActionResult Delete(int id)
        {

            var component = context.Components.Find(id);

            if (component == null)
            {
                return RedirectToAction("Index", "Components");
            }

            string imageFullPath = environment.WebRootPath + "/images/" + component.ImageFileName;
            System.IO.File.Create(imageFullPath);

            context.Remove(component);

            context.SaveChanges();

            return RedirectToAction("Index", "Components");

        }
    }
}
Пояснения по запуску программы
- Скачиваем и устанавливаем Visual Studio 2022 Community - https://visualstudio.microsoft.com/ru/vs/community/
- Выбираем все необходимые рабочие нагрузки - это разработка веб и классических приложений на C#? в дополнительных параметрах проверяем что все компоненты выбраны, при необходимости доватьте то что считаете нужным.
- Скачиваем и устанавливаем Microsoft SQL Server Management Studio 20 - https://learn.microsoft.com/ru-ru/sql/ssms/download-sql-server-management-studio-ssms?view=sql-server-ver16
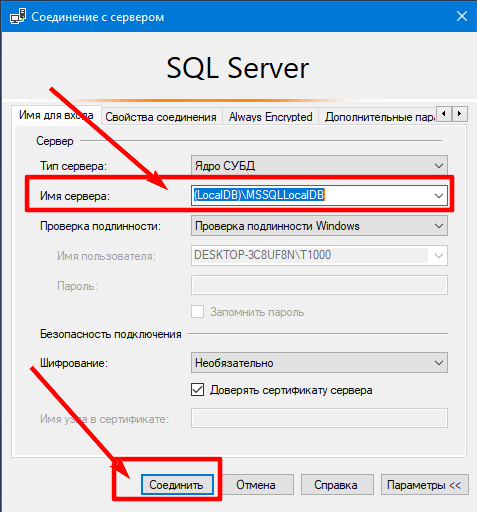
- Имя сервера должно быть таким - (LocalDB)\MSSQLLocalDB
- Запускаем SQL Server, вводим название сервера, выполняем подключение.

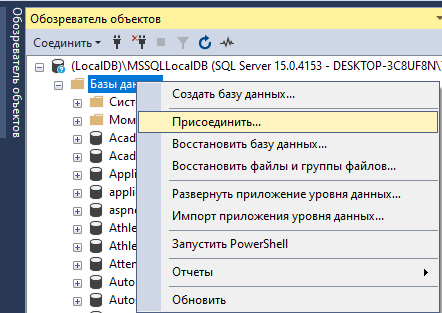
- После того как вы вошли, кликаем на Базы данных, у вас список будет пуст если все установлено с нуля, либо же увидите список уже созданных вами раннее баз данных. Нужно кликнуть на Базы данных - Присоединить (см рисунок ниже)
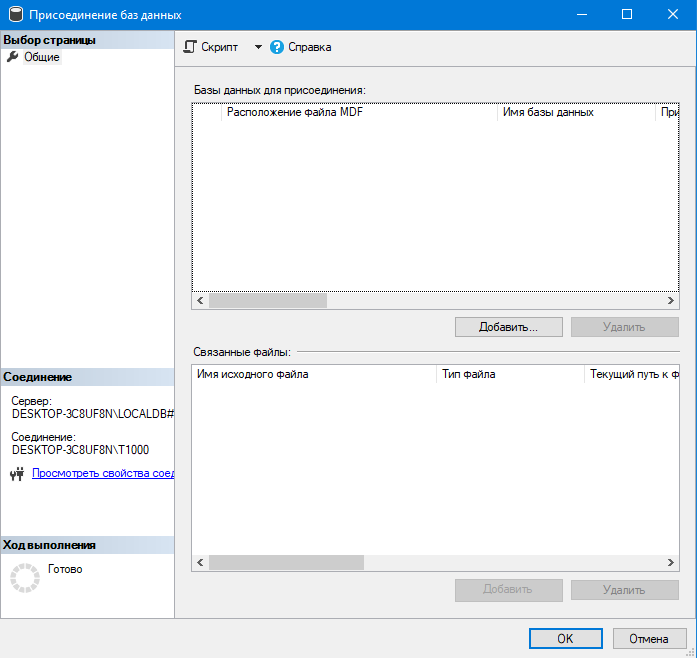
- Откроется окно как на рисунке.
- Жмете добавить. Откроется еще одно окно как на рисунке. Тут вам нужно выбрать файл базы данных с расширением mdf. Файлы базы данных приложены.
- Постарайтесь сделать так, чтобы файлы базы данных у вас были примерно по такому же пути как и у меня. Это Важно! После того как выбили нужный файл жмем ОК и ОК в предыдущем окне.
- На верхней панели увидите зеленую стрелку, жмете на нее и запускаете ваш проект. Добавляете комплектующие (товары) которые вам нужны.


-